Growing Cubensis Magic Mushrooms

Grow Guide for our Cubensis grow kits.
When you order a Cubensis Grow Kit, you will receive the following products inside:
- 1 x Mushroom Grow kit
- 1 x Paperclip
- 1 x Growbag

A few important things before you start.
Always work as clean and tidy as possible where the kits are very sensitive. Wash your hand thoroughly with soap and make sure the sink and tap are clean as well. Where this could already be the first source of bacteria.
Please choose the right spot to grow your kit. The Kit will require natural daylight in order to grow(but keep the kit out of direct sunlight and do not put the kit under a lamp or near a heater or heat source). The ideal temperature is between 20 and 25⁰C. When the temperature will drop below 18⁰C we would recommend a heating mat, make sure the temperature does not get above 35⁰C. Make sure the surface and environment areas clean and tidy as possible.
Step 1
Remove the lid from the kit, but don’t throw it away (you will need this for the next step and the following flushes).
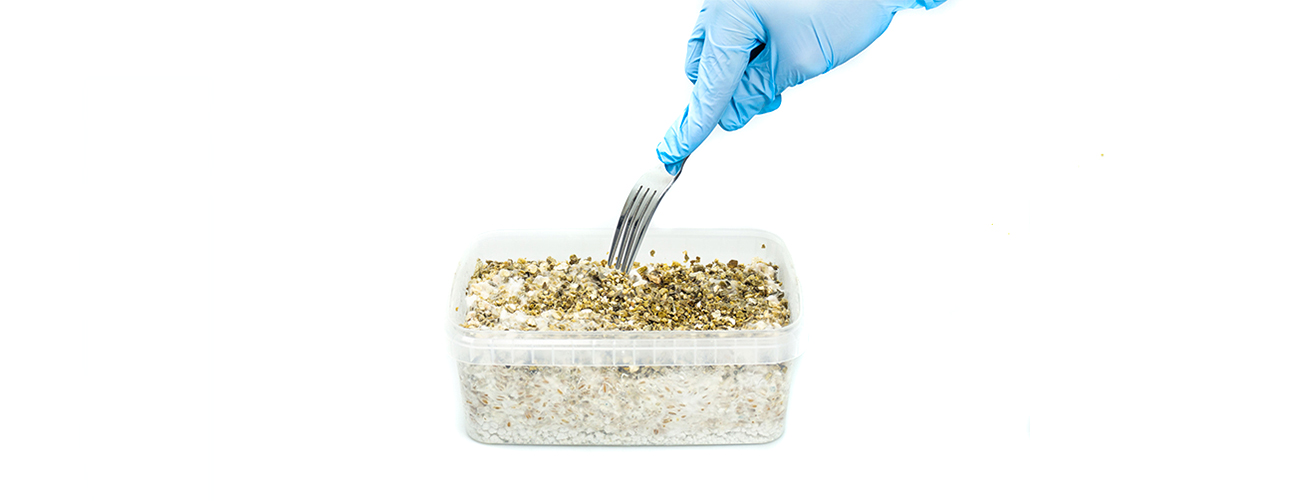
Step 2
Take a clean fork and carefully make some holes in the top layer of the kit, divided regularly. 6 to 8 rows of holes is enough. This is important for the kit to absorb the water better.
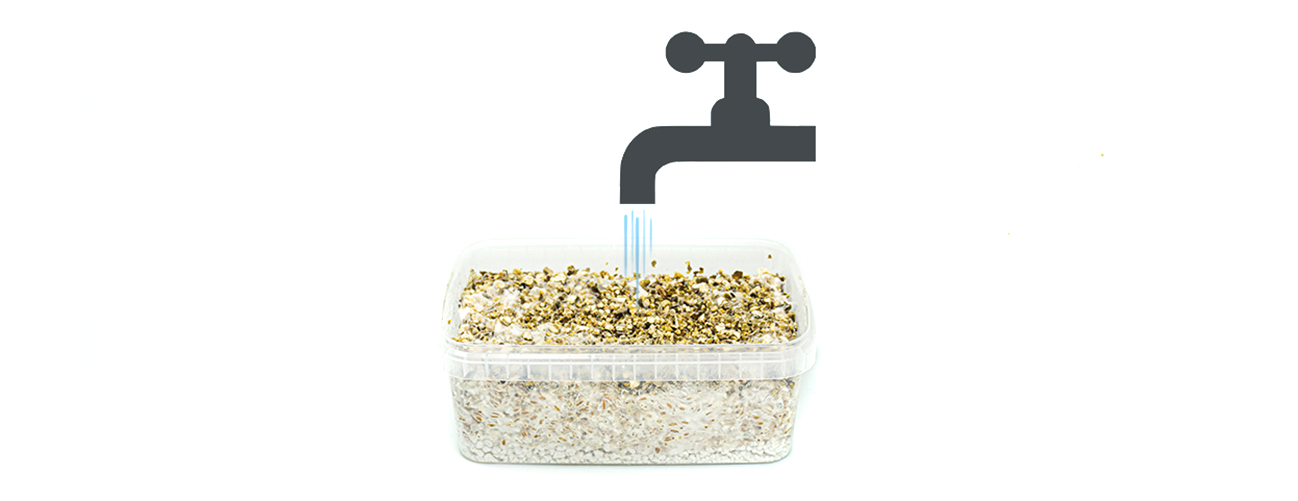
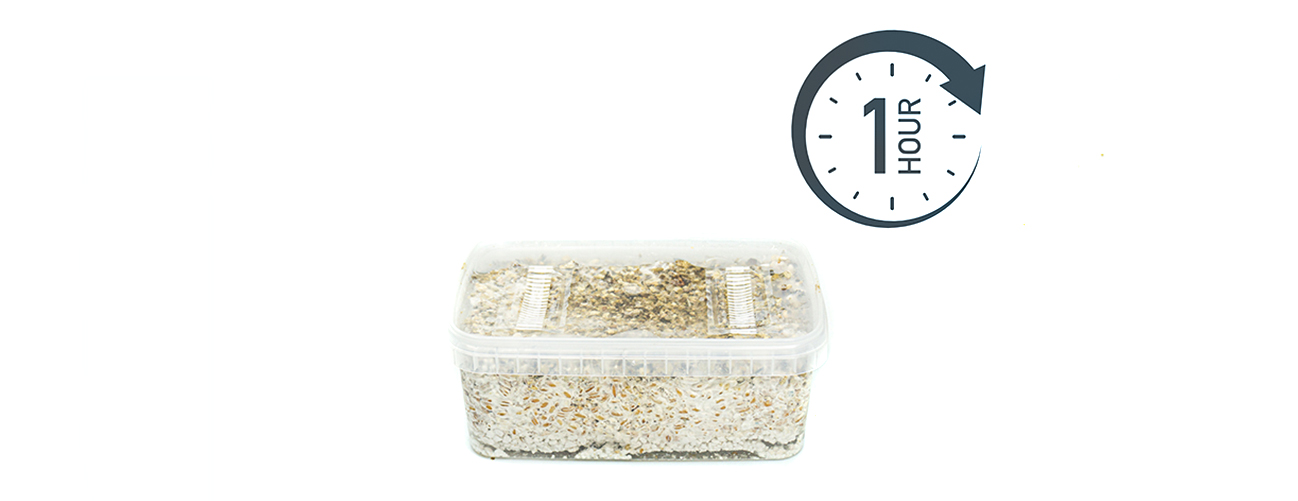
Step 3
Fill the kit with Lukewarm water. Replace the lid. And let it soak for 1 hour
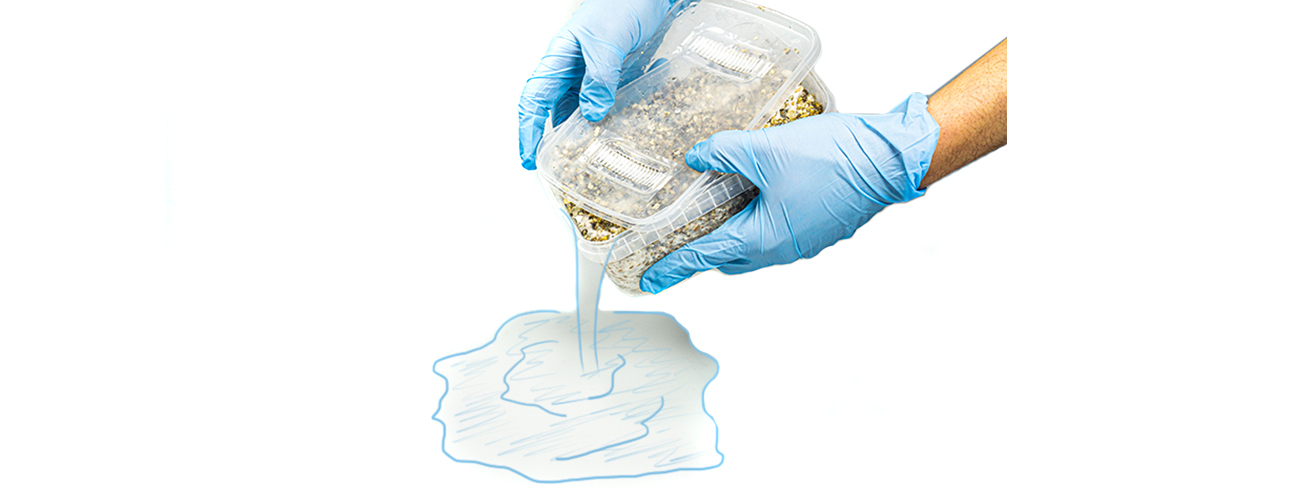
Step 4
After soaking. Remove the lid of the kit and carefully pour out all the excess water. Allow the grow kit to drain for 5 to 10 seconds. (make sure you keep the lid for the next flushes)
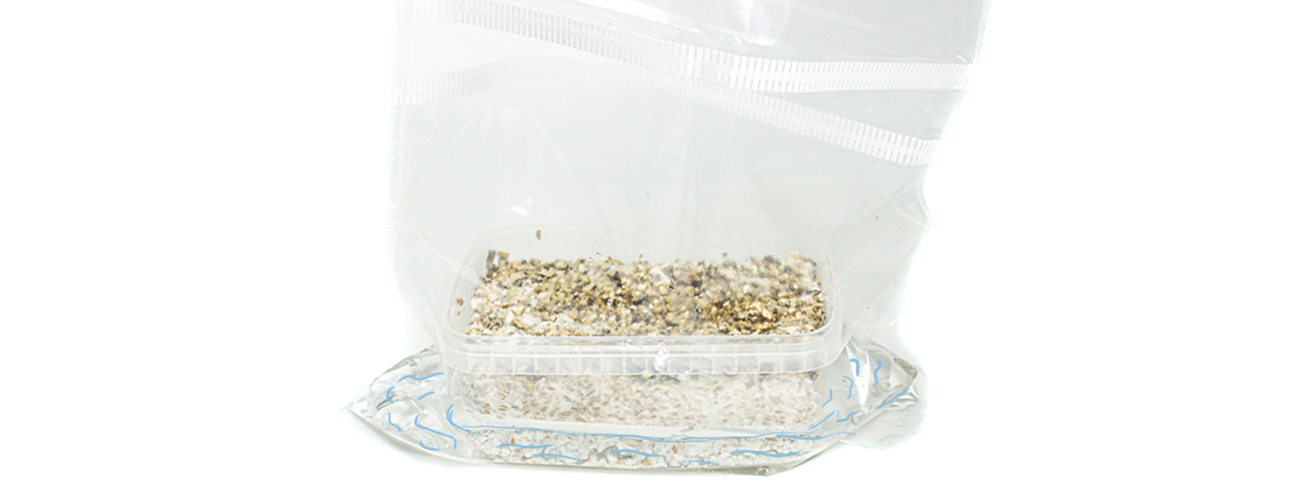
Step 5
Pour a cup or two with lukewarm water into the grow bag. (0,25 litres for the 1200CC Kit or 0,5 litres fort he 2100CC Kit).
Put the Growkit in the Growbag. Make sure the water does not go over the edge of the grow kit.

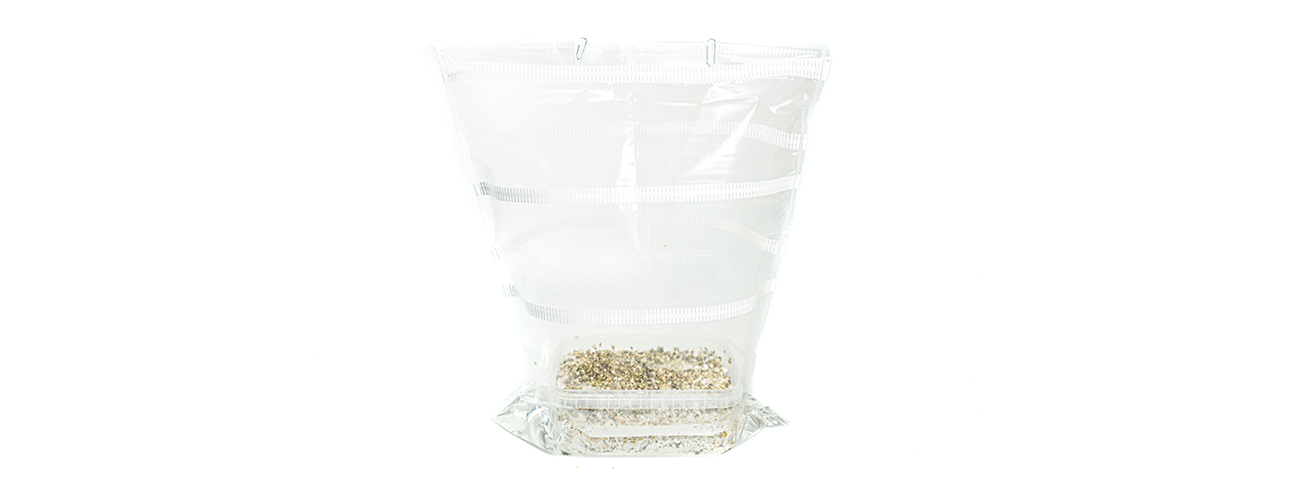
Step 6
Close the bag of the kit by folding the top of the bag carefully and secure it with the paperclip.
Step 7
Put the kit on the spot you want it to grow. Leave the bag closed until the first pre-pins start to grow. This may take 1 or 2 weeks and in the winter it could even take up to 3 to 4 weeks. Important is to keep the bag closed. In this stage, the kit requires a high level of CO₂ and does not need any oxygen. Patience is very important in this stage of growth.
Step 8
Once you start seeing the pre-pins you can open the bag. Leave the kit inside. In this stage of growing the kit requires fresh water and oxygen. From now on you can open it daily and give the fresh air and let the C0₂ escape. Moisten the kit daily with a spray(1-2 pumps maximum on the side of the bag(please try to avoid spraying directly on the mushrooms). Always use fresh water and make sure it’s clean. When you open the bag also make sure your hands are clean and be careful with your breath(try to avoid breathing in the bag or on the kit).
Once the prepping starts coming up it can spring up like mushrooms now.
Step 9
The mushrooms should be harvested just before the membrane under the cap starts to come loose. Harvesting: gently grasp the stem, twist it left and right, and then pull it up gently to pull the mushroom out as completely as possible. This way it is possible that new mushrooms will grow again.
Get Ready for your second Flush!
After getting your first harvest make sure you completely clean the surface of the Growkit, also remove the old and dead mushrooms. Soak the kit full of water again and put it in the refrigerator overnight (12-24 hours, not colder than 2⁰C). The next day, pour out all of the water and start again from step 5.
Keep in mind that growing mushrooms from a kit is a natural process. All kits are unique on their own. In order to get your “magic” mushrooms, you should use your own “magic” first. It’s all about Lightning, temperature, and setting. We provide you with the kit and the guide. The rest you have to fill in yourself. Keep in mind that our kits are made to grow with the grow bag we provide. If you want to experiment with a fruiting chamber or different setting, then that’s completely up to you at your own risk. We recommend using the grow bag because we know that it’s working like that.
If there has not been any sign of growing after 3-4 weeks there is a possibility the kit is sleeping. In this stage, a Cold Shock could help. You soak the kit again with water, put it in the fridge overnight with the lid on it, and set it up again like you did before (continue from step 4 again). Keep in mind that is a reset so you will start counting from day 1 again.
Patience is very important in the process of growing mushrooms if your kit is not giving any growth signs at week number 3 after the cold shock, please send us a message with some clear pictures, the batchnumber, a description of the kit, and setting (temperature, setting, lighting, etc.) a lot of times we can advise you to make a change in this.
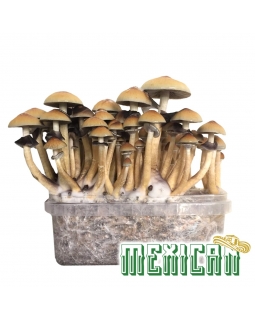
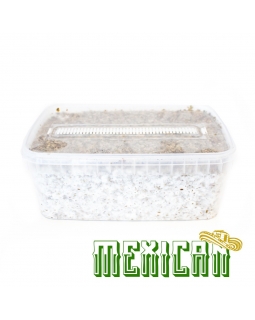
Cubensis Mexican - Magic Mushroom Grow Kit
Breed your own Mexican Mushrooms or the Stropharia Cubensis with the NLNaturals Mexican Growkit. The Mexican mushrooms are ideal for people who want to experience a mushroom trip for the first time. Mexican mushrooms give you an energetic and fantastic trip. The Mexican mushrooms take you to the sunny side of life. A visual and unique spectacle.
Given the limited supply of 2100cc, there's a po...
| Strength | ⭐️⭐️⭐️ |
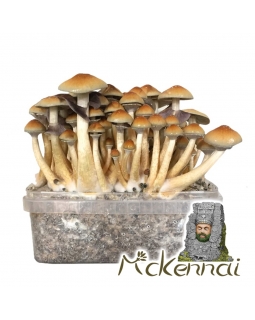
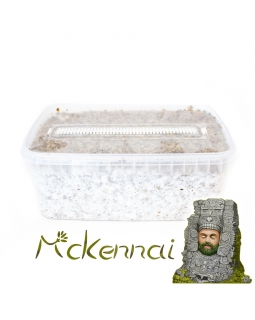

Psilocybe Cubensis McKennaii - Magic Mushroom Grow Kit
The McKennaii is a very strong magic mushroom that will visually open doors for you. Let yourself be carried away in a cheerful and colorful roller coaster with the McKennaii mushroom. Grow your Magic Mushrooms and enjoy an unforgettable experience. There's no such thing as a stronger trip among the Grow Kits!
Given the limited supply of 2100cc, there's a possibility that your order will be com...
| Strength | ⭐️⭐️⭐️⭐️⭐️ |
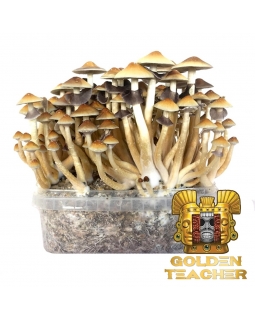
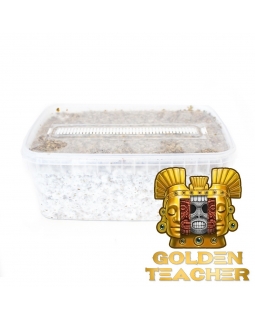
Psilocybe Cubensis Golden Teacher - Magic Mushroom Grow Kit
The Mushroom Grow Kit contains everything you need to grow your Mushrooms. Just add water and follow the instructions. The All-in-one Grow Kit contains besides the Grow Kit, a growth bag with air filters and 2 paperclips.
Given the limited supply of 2100cc, there's a possibility that your order will be completed with two 1200cc units instead.
| Strength | ⭐️⭐️⭐️⭐️⭐️ |